Installing Tyler Identity
Portions of the Tyler Identity project will be populated by the previous install of Tyler Identity if the New World Settings Migration project is run to assist in entering values.
Regardless of your current version of New World ERP (2017.1 or 2018.1), a new version of Tyler Identity needs to be deployed to work with 2019.1 ERP. This project needs to be deployed at all sites and all environments.
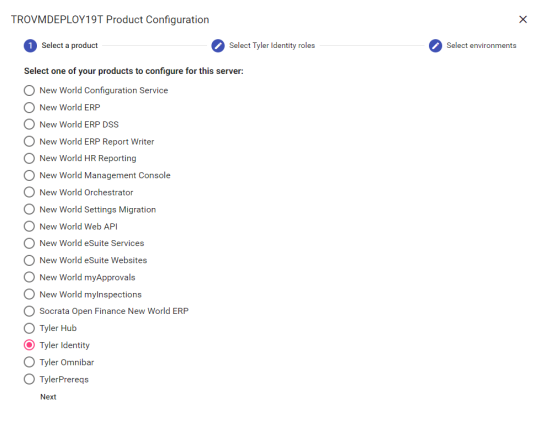
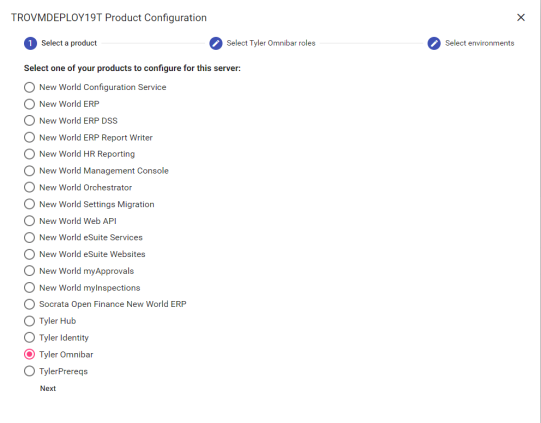
A prerequisite to the Tyler Identity install is that the Tyler Identity and Tyler Omnibar roles are fully configured on a tentacle server (typically the New World Application Server if a Tyler infrastructure server is not in place). The mechanics of the tentacle installation are defined in Downloading and Installing a Tentacle.
- Login to Tyler Deploy with your Tyler Community credentials.
-
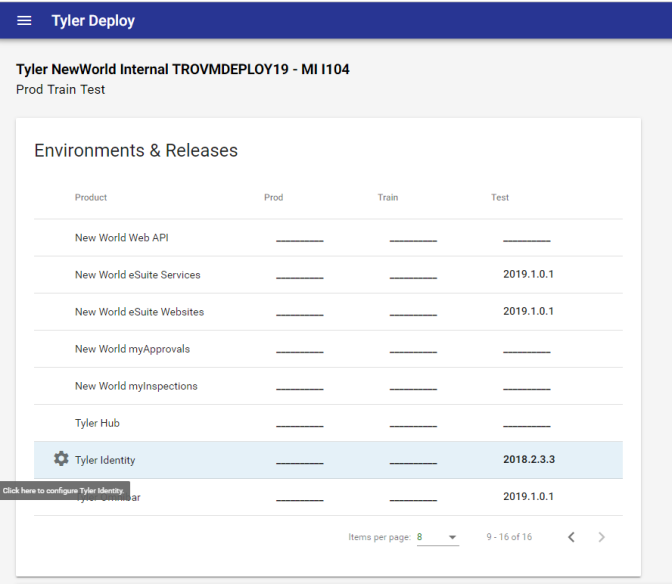
On the Tyler Deploy homepage, hover over Tyler Identity and click the gear icon to the left.
-
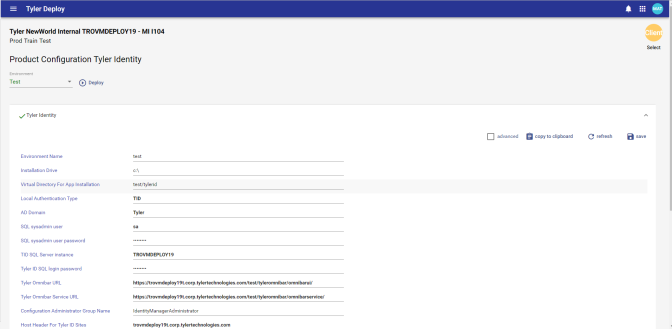
Pick the environment you are configuring (Prod, Test, Train, Impl, etc) and expand the Tyler Identity and Tyler Omnibar banners. Several of these settings will auto-fill from the New World Settings Migration project. Configure the necessary values that do not populate from the Settings Migration. Example of the page filled out below.
Note: We recommend the Use Email as Username setting to be unchecked.
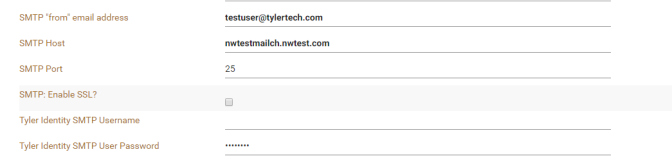
Note: If you are a TID customer (not using Active Directory) with Tyler Identity logins, please click the Advanced check box and configure the SMTP section with your mail server information. Screenshot of that section below.
-
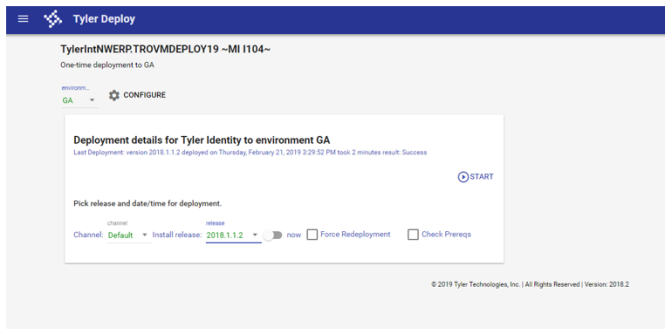
Click the DEPLOY button to move to deployment page quickly. Pick a release from the Release field and click START.
-
Confirm the information in the Start Deploy pop-up is correct and continue onward. A general example of what this dialog looks like is below.

-
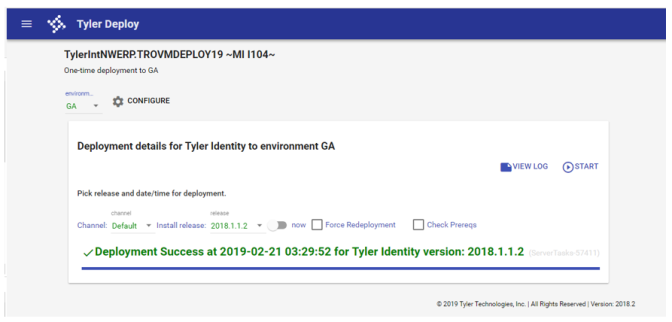
Once the deployment is complete, the administrator will see a success or failure message in Tyler Deploy. Failures are accompanied by a log file.
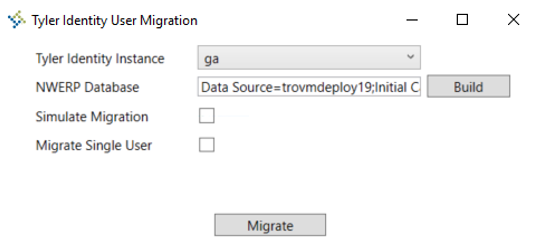
A user migration utility is required if you are running an upgrade from 2017.1 to 2019.1. You will find the migration tool at {Installation_Drive}\Octopus\Applications\{Tenant_Name}\{Environment_Name}\NWERP.TIDUserMigration\{Version_Name}.
The Tyler Identity User Migration Tool would be run on the server where Tyler Identity is deployed. Pick your Tyler Identity Instance, build a connection to your ERP database and you are ready to migrate. There are options to Simulate the Migration or Migrate Single User. A log report will generate after running the migration tool.
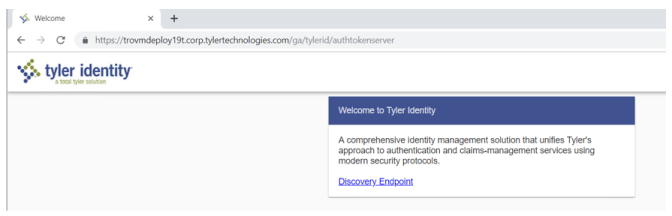
Now would be a good time to spot check the Tyler Identity deployment. To do this open Microsoft Internet Information Services Manager from Control Panel > Administrative Tools or Server Manager. Try to browse to the authtokenserver site. IE: https://HOSTHEADERMAPPING/ENVIRONMENTNAME/tylerid/authtokenserver. If a page loads in the browser, that is a good sign to move forward.